How to Apply Wall Decals

Applying our wall decals is so easy! Before starting, determine if you have a vinyl or fabric wall decal. If you aren't sure, vinyl decals are sent with transfer tape and an applicator tool!
FABRIC DECALS

Step 1
Wipe down wall

Step 2
Peel the decal from the backing
Step 3
Place decals in the desired position on the wall
Fabric decals can be removed and reused!
VINYL DECALS

Step 1
Wipe down the wall

Step 2
Slowly Peel the backing off of the decal, leaving the transfer tape on the front
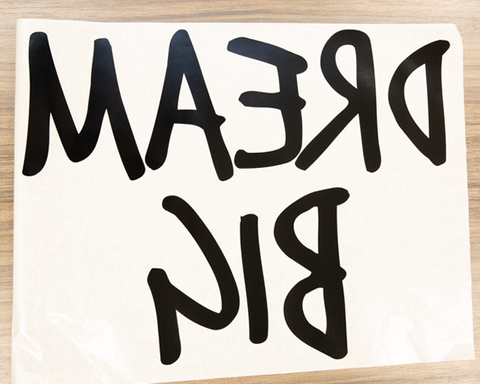
This is what it should look like once the backing is peeled off

Step 3
Place decals in desired position on the wall. If you are working with a larger decal, you may need some assistance.

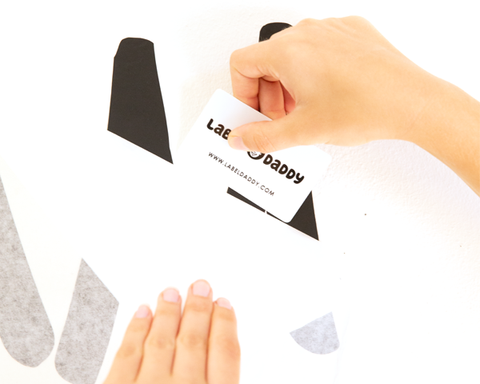
Step 4
Starting from the center of the decal, slowly press/scrape in an outward motion using the included applicator tool. This helps push any air bubbles out towards the outer edges.
Step 5
Slowly peel back a small section of the transfer tape to ensure decal stuck. If the decal is lifting, simply press it down with your fingers. Be sure to pull the transfer tape off slowly and pull the tape towards you. Keep it as flat as possible.

And Voila! While Vinyl decals are removable, they are not reusable.